Proper Installing Solar Panels Properly
Installing a solar energy system correctly not only brings energy-saving benefits but also contributes to environmental protection. In this article, we will focus on the installation of solar panels, particularly on corrugated roofs, providing detailed instructions and cost reviews.
5 Safety Rules Before Installation:
Installing a solar energy system requires special attention to safety to ensure that the work is carried out efficiently and securely. Below are some important safety rules when installing a solar energy system:
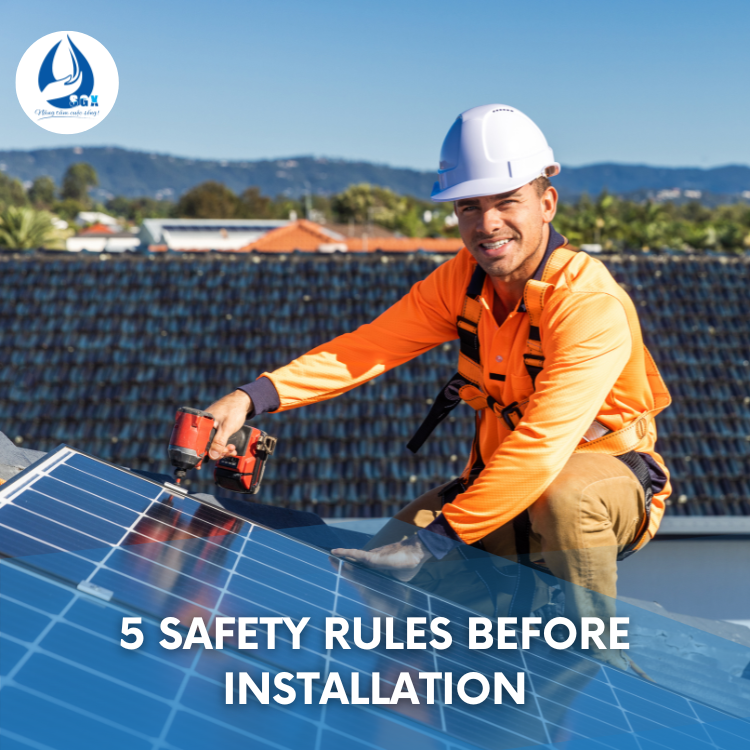
1. Basic Inspection:
Before commencing the work, conduct a general assessment of the system and the installation site to ensure there are no safety risks.
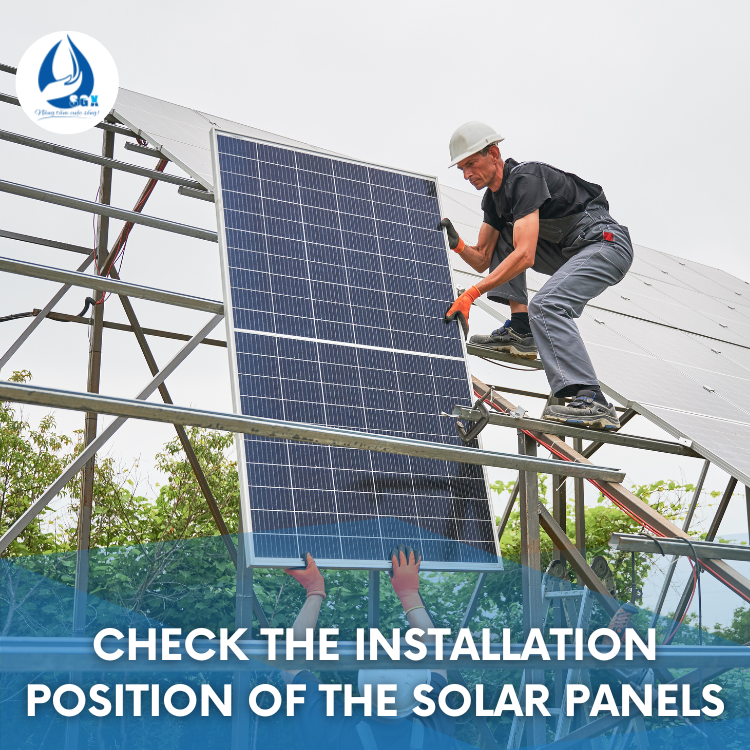
Wear Personal Protective Equipment (PPE) such as:
- Hard hat
- Safety glasses
- Insulated gloves to protect yourself from the risk of impact and electrical hazards.
2. Cease Operations in Inclement Weather
The first safety rule to always adhere to is to halt all activities in adverse weather conditions such as heavy rain, strong winds, etc.
Working on rooftops during high winds can lead to loss of balance or damage to the system.
In conditions of heavy rain or humid weather, slippery surfaces with wet tools may pose risks to the safety of individuals during installation, such as the risk of electric shock, slipping, and falling.

3. Check the Electrical System:
Before commencing work, ensure that the power to the solar system is turned off to avoid the risk of electric shock.
Check the voltage of the system to ensure it is operating at a safe level and poses no hazardous risks.
Avoid installation in areas prone to flooding and maintain a safe distance between the solar system and water sources to prevent electrical hazards.
4. Pay Attention to the Battery Status:
Check the condition of the batteries, especially if there are signs of damage or excessive heat emission.
Avoid direct contact with the surface of the batteries while they are in operation to prevent the risk of electrical leakage.
5. Follow Manufacturer’s Safety Guidelines:
Adhere to all safety instructions and regulations provided by the manufacturer to ensure proper and safe installation.
Installing Solar Panels at an Inclined Angle
When determining the installation position, it’s common to choose an inclined angle for solar panels rather than a flat orientation. Below, SolarSGX will explain this decision and provide detailed information.
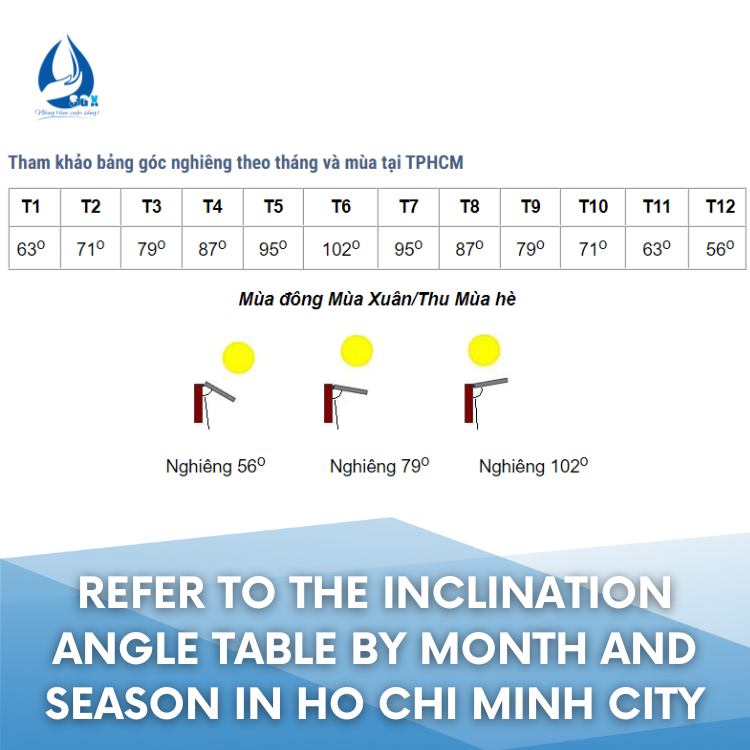
The Earth has a spherical shape and rotates around the Sun. Only at the equator is the sunlight angle with the surface 0 degrees, while in other regions, this angle increases gradually as it moves towards the poles. Therefore, in these regions, choosing inclined solar panels helps optimize the absorption of solar radiation.
Depending on the hemisphere, we adjust the appropriate inclination angle. In the Northern Hemisphere, solar panels should be inclined towards the South at an angle equal to the latitude, while in the Southern Hemisphere, they should face North at a similar angle.
Energy obtained from solar radiation is highest at noon when the Sun is at its highest point. Therefore, positioning solar panels in the appropriate direction and inclination angle will maximize the utilization of solar energy, especially around noon.
During summer and sunny months, deciding to incline solar panels towards the Sun’s direction will optimize performance. Conversely, in winter, adjusting the inclination angle will ensure good performance during cold months.
If the system can be adjusted seasonally, we can achieve optimal performance throughout the year. This is the result of flexibility in adapting to changes in the angle of sunlight according to the seasons.
Installing Solar Panels Guide:
a. Prepare Materials and Tools:
- Solar panels
- Mounting frame
- Electrical wires
- Energy regulator (optional)
- Basic installation tools
b. Installing Support Frame:
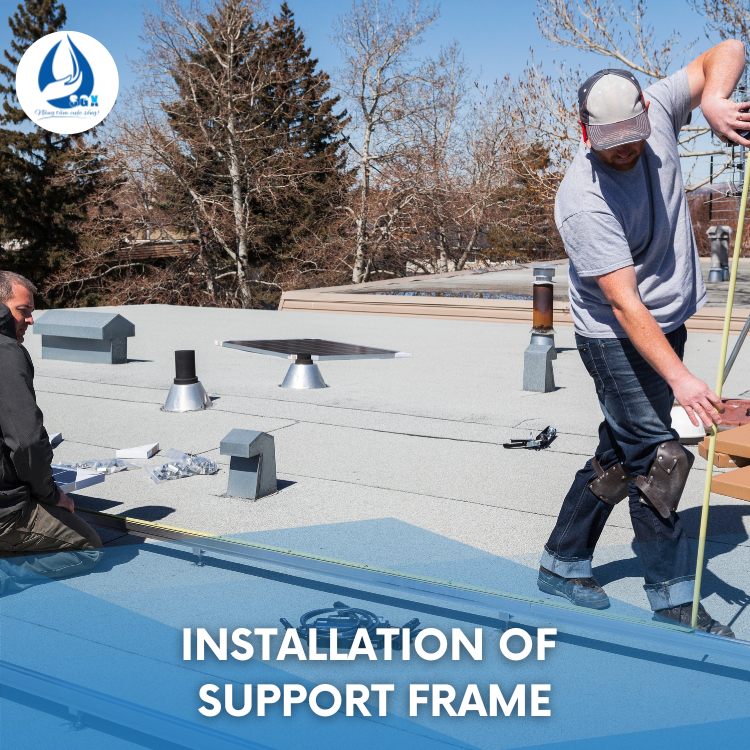
- Before installation, you need to mount the supports on the sloped roof or attach the mounting rails on flat roofs.
- The installation frame is used on sloped roofs and must be positioned to directly contact sunlight.
- A support system is employed during installation, allowing you to place the solar panels at any desired angle.
- It’s advisable to keep all solar panels at the exact angle and height, even if the slope of the roof varies, to maintain consistent power production.
- Ensure the use of roof adhesive where drilling and attach screws to the roof to secure the frame or support.
- This prevents rainwater from leaking through the holes in your roof.
- It’s recommended to follow the accompanying instructions carefully to ensure proper installation according to the manufacturer’s recommendations.
c. Mounting Solar Panels onto the Frame:
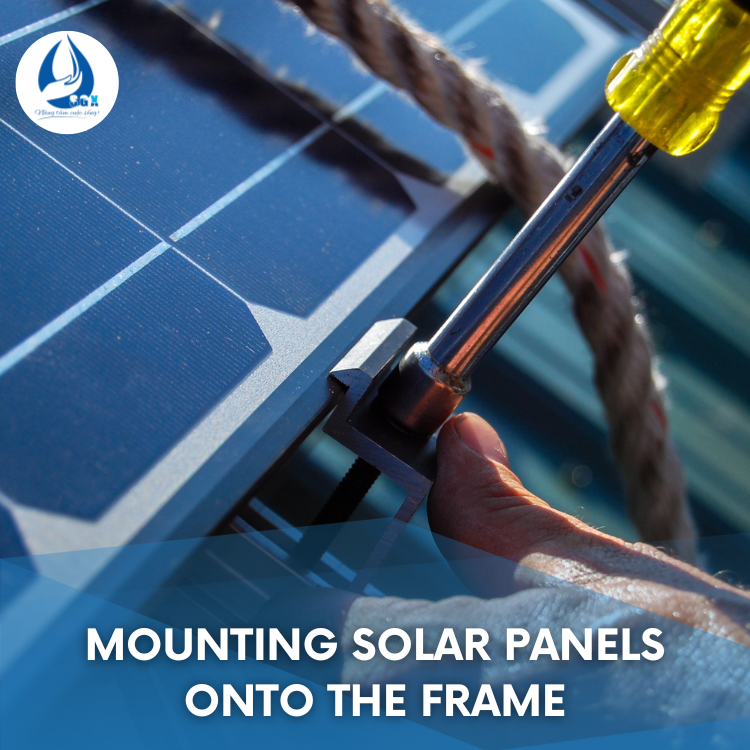
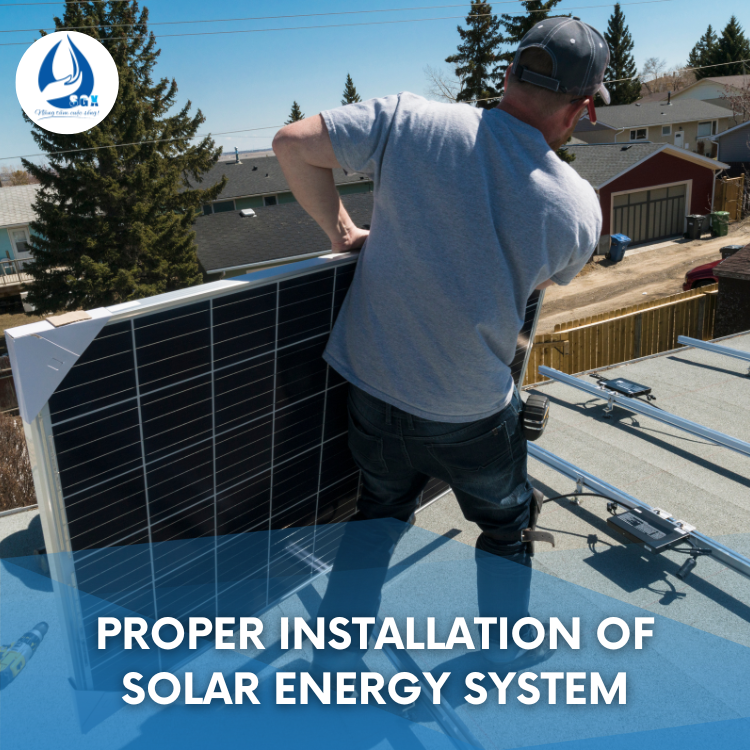
- After securing the support frames, the next step is to mount the panels by placing them onto the support frames and firmly securing them in place.
- During installation, ensure they are securely fastened and won’t accidentally slide off steep roofs before you have the chance to secure them.
- Subsequently, you must connect the panels to each other in the way you desire for them to generate energy.
d. Connect to the Home Electrical System:
- Connect the solar panels to your home electrical system.
- Use an energy regulator if necessary.
Installation Cost of Solar Panels:
The installation cost of solar panels may vary depending on the system size, type of panels, and specific project conditions. Factors to consider include material costs, labor, and system maintenance.
With detailed guidance and information on these costs, you will be able to install a solar panel system correctly and efficiently, bringing long-term benefits to your home and the environment.
Điện năng lượng mặt trời Sài Gòn Xanh – Nâng tầm cuộc sống!
- TƯ VẤN – KHẢO SÁT – THI CÔNG
- 0976 123450 (phím 1), 096 5594559
- Website: solarsgx.vn
- Fanpage:Điện năng lượng mặt trời Sài Gòn Xanh
- Địa chỉ: 21 Sến Quỳ, Ninh Sơn, Thành phố Tây Ninh, Tây Ninh

